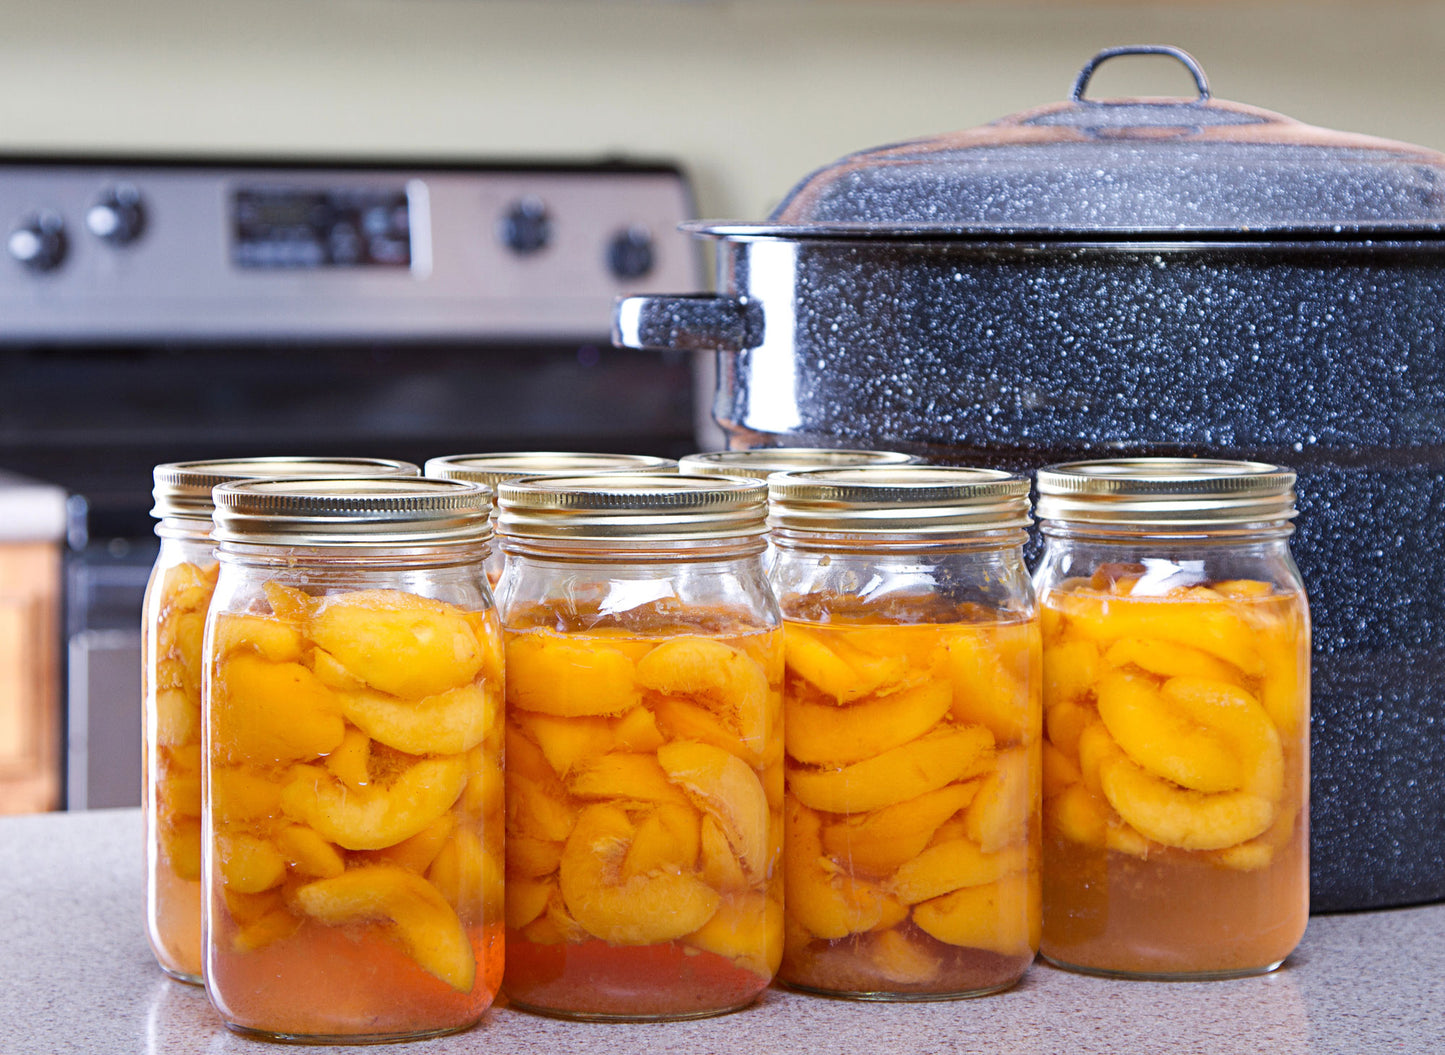
In a world where food security and self-sufficiency are increasingly important, canning has become a vital skill. Canning allows you to preserve the bounty of your garden, enjoy seasonal produce year-round, and ensure your pantry is stocked with healthy, home-canned goods. Whether you're new to canning or looking to refine your skills, this guide will walk you through the essentials of food preservation through canning.
Why Canning is Important
Canning offers numerous benefits that make it a valuable practice for anyone interested in food preservation and self-sufficiency.
Benefits of Canning:
- Longevity: Properly canned foods can last for years, making them ideal for long-term storage.
- Nutrition: Home-canned foods retain much of their nutritional value, allowing you to enjoy healthy produce throughout the year.
- Cost-Effective: Canning allows you to save money by preserving surplus produce and buying in-season fruits and vegetables at lower prices.
- Flavor: Canned foods often taste better than store-bought alternatives because you control the ingredients and can tailor recipes to your preferences.
Types of Canning
There are two primary methods of canning: water bath canning and pressure canning. Each method is suited to different types of foods and ensures safe preservation.
Water Bath Canning:
- Suitable For: High-acid foods such as fruits, jams, jellies, pickles, and tomatoes.
- Process: Jars are submerged in boiling water for a specified time to kill bacteria, yeasts, and molds.
- Equipment Needed: Large pot, canning rack, jars with lids, jar lifter, funnel, and bubble remover.
Pressure Canning:
- Suitable For: Low-acid foods such as vegetables, meats, poultry, seafood, and soups.
- Process: Jars are processed in a pressure canner, which reaches higher temperatures than boiling water to eliminate the risk of botulism.
- Equipment Needed: Pressure canner, jars with lids, jar lifter, funnel, and bubble remover.
Essential Canning Equipment
To get started with canning, you'll need some basic equipment. Investing in high-quality tools will make the process smoother and more enjoyable.
Must-Have Canning Equipment:
- Jars: Mason jars are the most popular choice. Ensure they are free of cracks and chips.
- Lids and Bands: Use new lids for each canning session to ensure a proper seal. Bands can be reused.
- Canner: A water bath canner or pressure canner, depending on the type of food you're preserving.
- Jar Lifter: For safely handling hot jars.
- Funnel: For filling jars without spilling.
- Bubble Remover: To release trapped air bubbles before sealing jars.
- Clean Cloths: For wiping jar rims and cleaning up spills.
Basic Steps of Canning
Canning involves several critical steps to ensure food safety and quality. Here’s a step-by-step guide to the canning process.
Steps for Water Bath Canning:
- Prepare Jars: Sterilize jars and lids by boiling them or washing them in a dishwasher with a high-heat setting.
- Prepare Food: Wash, peel, chop, or cook the produce as required by your recipe.
- Fill Jars: Use a funnel to fill jars with the prepared food, leaving appropriate headspace.
- Remove Air Bubbles: Slide a bubble remover or a non-metallic spatula around the inside of the jar to release any trapped air.
- Wipe Rims: Wipe the rims of the jars with a clean cloth to ensure a good seal.
- Apply Lids: Place the lids on the jars and screw on the bands until fingertip-tight.
- Process Jars: Submerge the jars in a water bath canner, ensuring they are covered by at least 1-2 inches of water. Boil for the recommended time.
- Cool and Store: Remove jars and let them cool undisturbed for 12-24 hours. Check seals, label, and store in a cool, dark place.
Steps for Pressure Canning:
- Prepare Jars: Sterilize jars and lids.
- Prepare Food: Wash, peel, chop, or cook the food as required.
- Fill Jars: Fill jars with food, leaving headspace as specified by the recipe.
- Remove Air Bubbles: Remove any trapped air bubbles.
- Wipe Rims: Clean the rims of the jars.
- Apply Lids: Secure lids and bands.
- Process Jars: Place jars in the pressure canner. Follow the canner’s instructions to process at the recommended pressure and time.
- Cool and Store: Let the canner cool naturally before opening. Remove jars and let them cool undisturbed. Check seals, label, and store.
Safety Tips for Canning
Ensuring safety in canning is paramount to avoid foodborne illnesses and spoilage. Here are some essential safety tips.
Safety Tips:
- Use Tested Recipes: Only use recipes from reliable sources like the USDA, Cooperative Extension Services, or trusted canning books.
- Follow Processing Times: Adhere strictly to the recommended processing times and methods for each type of food.
- Check Seals: After cooling, check that the lids have sealed properly by pressing the center of the lid. It should not flex up and down.
- Store Properly: Store jars in a cool, dark place. Avoid areas with temperature fluctuations.
Troubleshooting Common Canning Problems
Even experienced canners encounter issues from time to time. Here are some common problems and their solutions.
Common Problems and Solutions:
- Jars Don’t Seal: Check for chips on jar rims, ensure lids are new, and bands are tightened correctly.
- Siphoning: This occurs when liquid is lost during processing. Ensure proper headspace and avoid rapid temperature changes.
- Spoilage: If jars show signs of spoilage (bulging lids, leaking, or off smells), discard the contents immediately.
Conclusion
Canning is a rewarding and practical skill that enhances self-sufficiency and food security. By following the proper methods and safety precautions, you can preserve a wide variety of foods to enjoy year-round. Whether you’re a beginner or an experienced canner, the process of transforming fresh produce into shelf-stable jars is both satisfying and beneficial for your pantry.
Start your canning journey today and enjoy the peace of mind that comes with knowing you have a well-stocked and healthy food supply at your fingertips.
